How to Configure a new Tenant
Next we will show how to setup a new tenant by using a cleaning company as an example case. Log in into your tenant, you will automatically be led to the Dashboard tab. After this click on the Users Tab in the left sidebar. You can find the tab in the Administration section of the sidebar.
Step 1 - Setting up the Users
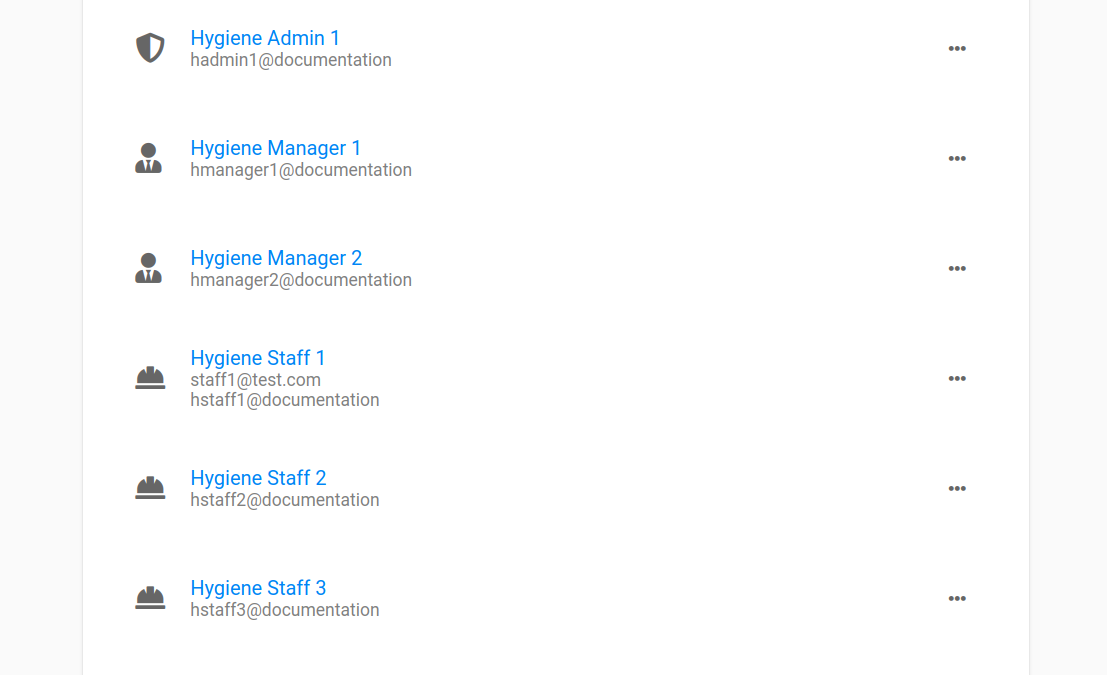
In the Users tab create new users as shown here. In our example we created one hygiene Admin, 2 Managers and 3 Operators. You can always add new users after setting up the tenant but it will help you to maintain the structure if you create them right in the beginning.
Step 2 - Create Groups
After creating some users, switch to the Groups tab in the same section. Create new groups and include your users in a way that it makes sense for your Use Case. In our example we created a group for the Managers and one for all Operators. See this to get to know more about groups.
Step 3 - Create Approval Hierarchy
Under the tab Tenant you can set up an approval hierarchy for the users. This is necessary if changes in a process, asset or user need to be approved first by a different person than the one that made the changes. Read more about approval hierarchies here. Keep in mind that after setting an approval hierarchy, all changes you make from now on will be saved as a draft until they are approved. This includes all new assets, processes, users you will create in the following steps! If you are the main responsible, consider skipping this step for now and adding the hierarchy after you are done with your initial setup.
Moreover, if you have any custom types of measurements you would like to have documented, you can create new types of measurements under the Tenant tab.
You can also edit the appearance of your tenant under this tab (this is optional)
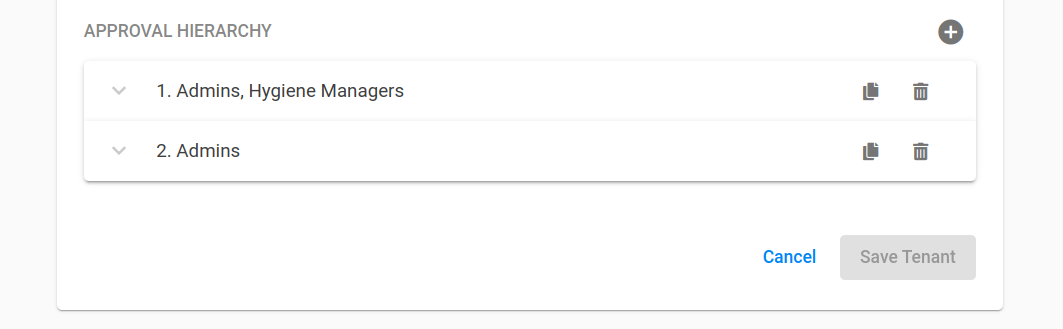
In our example we created an approval hierarchy consisting of a first level where either one of the members of the group "Hygiene Managers" or "Admins" have to approve changes, followed by a second level where an admin member has to approve the changes. This has the advantage that admins will not have to wait for the approve of managers if they change something on their own.
Step 4 - Create Asset Categories and Assets
Move to the tab Assets within the Data Management section of the left sidebar. If you already know that you will have multiple assets of the same type create asset categories for them. This is comparable to user groups and will spare you time later on.
In the example we created an asset category named "Coffee Machines" since there are coffee machines at all our locations, halls and floors.
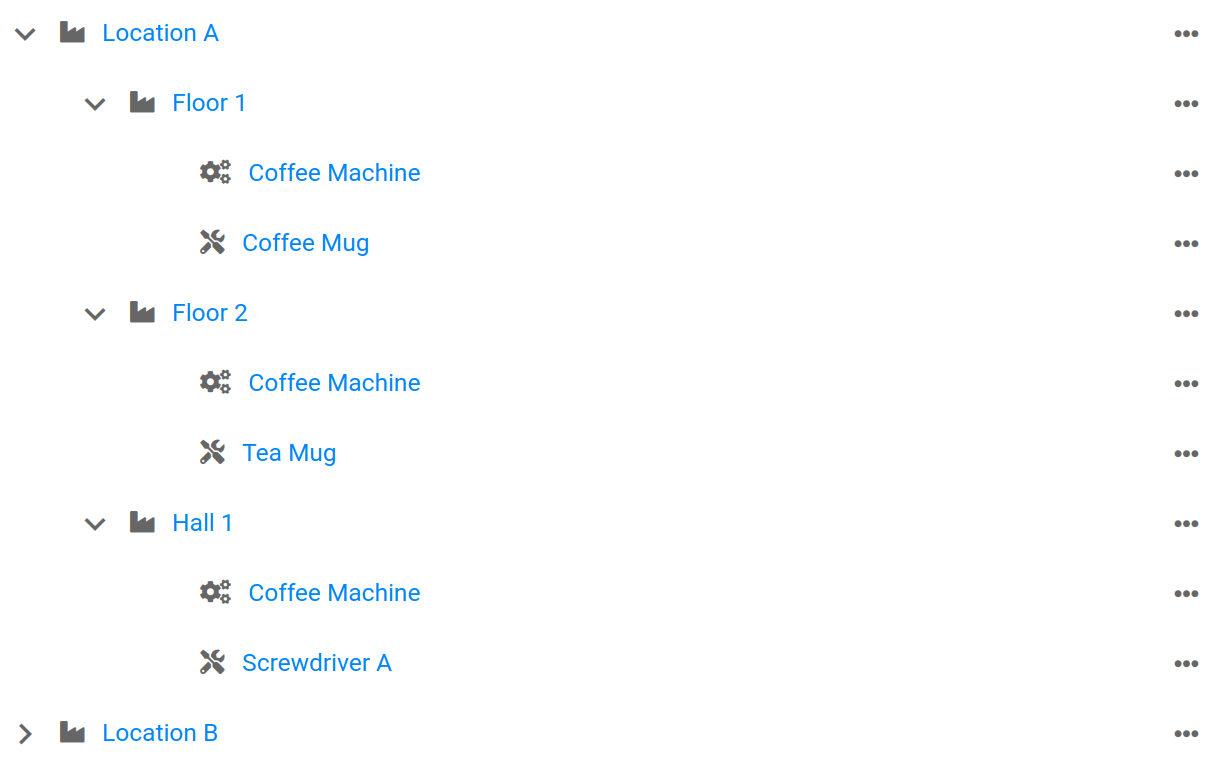
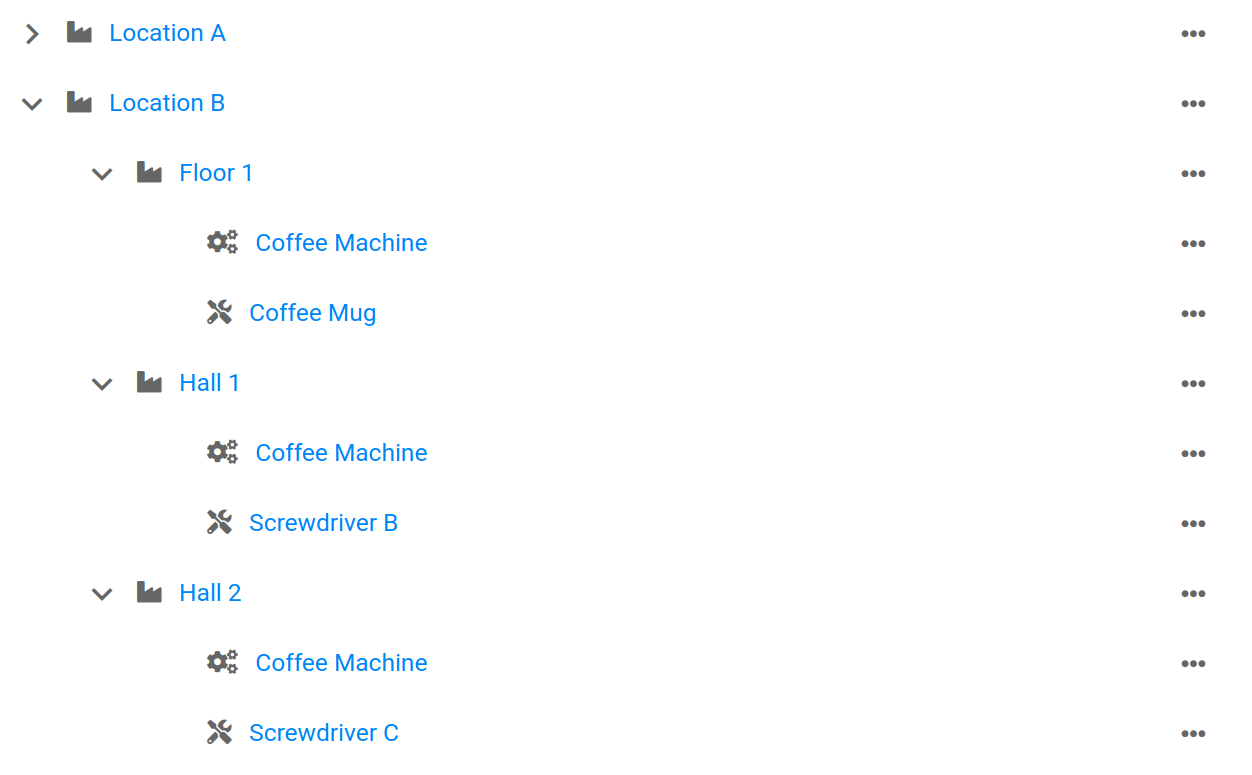
Afterwards create the asset structure starting by the highest level, which in our case are the locations/factories of our company. Add as many layers as you need to represent your company. For international players it may make sense to structure their assets into locations with corresponding factory halls, office floors and so on. Each floor might then include several assets as coffee machines, printers (in case of office floors) or tools, toolboxes or other equipment for workshops.
Below we created a possible asset structure for our cleaning company example:
Step 5 - Create Processes and Process Plans
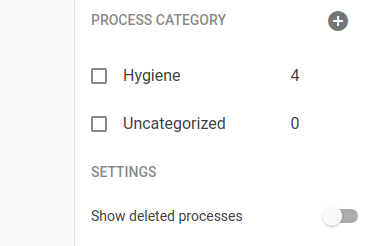
Now that we have assets, move to the tab Processes within the Data Management section. Before we create a process we create process categories so that we can assign each process to the corresponding category. In our case we created a process category named Hygiene.
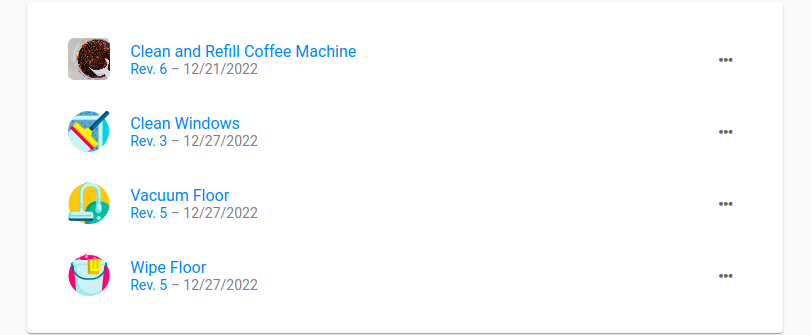
Next, we create the processes we need according to the manual. Inside the processes insert the needed steps to perform the process, set a time schedule and assign responsibles.
For our example we created 4 processes and assigned them all to the Hygiene category.
In case there are many processes and more structure is needed, it is possible to set up process plans. With process plans many processes can be triggered using the same time schedule. There can be a process plan for production and one for hygiene processes for example. Process plans are, however, optional and depend on the settings of your tenant.
Single Processes and Processes inside Process Plans can have different schedules and will trigger tasks independently. To avoid confusion, decide in the beginning if you want to use process plans or not and set schedules inside processes only if you decide not to use process plans.
Final Remarks
If you decided to skip setting up an approval hierarchy in Step 3, you should now set one up so that there can not be made any changes by users without the necessary rights.
You're ready to go! The processes you set up will send out tasks automatically according to the schedule you set. Your employees will be able to see the tasks in their own task view and can now start fulfilling them. You can check the status of all tasks under the Reporting tab. Also don't miss out on checking the Dashboard tab from time to time!